

How to unlock Acess More Bank App
Is your profile locked or disabled on the Access More bank application and do you want to regain access to your profile?
Access More is the official mobile application for Access Bank. It is a payment application built on cutting-edge technology and allows you to carry out transactions with your Access bank account, on your mobile phone.
In this CrackHow article, we will walk you through easy and simple steps to regain access to your profile on the Access More mobile application if you get locked out or your profile gets disabled.
Important Points
The reason why the Access More application locked your profile is that you or someone else attempted to log in with the wrong username or password on the application.
Method 1: How To Unlock Access More Mobile App When Profile is Locked or Disabled
In case, you are seeing “ Profile is Locked ” in the Access More application then You will need to do a password reset to regain access.
Here are the easy steps to follow to reset your password on Access More:
Start your Access More application and wait for the application to load. The login page will display after the app has completely loaded.
On the login screen, click the “Forgot Password?” link located above the LOGIN button. This link takes you to the password reset form.
Enter your credentials into the form that appears. The password reset requires your Account Number and Username from the Access More program.
After you’ve correctly filled out the form, click the Continue option.
A temporary password, also known as an OTP, will be issued to the phone number registered with your account. Enter your temporary password in the required input box, followed by your new profile password.
You must use a password that is at least 8 characters long and includes at least one uppercase, one lowercase, one numeric, and one special character.
Special characters include “!@#$%^&*()” and others.
When you’ve entered all of the information accurately, click the CONFIRM button.
You will receive a message indicating whether the password reset was successful. If it is successful, you can proceed to the login page and enter your username and newly created password.
Method 2: How To Unlock Access More Mobile Apps When Profile is Locked to Another Device
When you launch the Access Bank mobile app, scroll down to change your country. Click the “Menu” icon on top.
Choose from the following options: login, reset, unlock device, and fast information.
Select “Unlock Devices“. Please provide your personal information.
Continue entering your account number.
Select any authentication mechanism, including a PIN or token.
Do not forget to input the correct information.
Then, click “Validate” to activate your Access Bank mobile app.
A message will be sent to your phone stating that you have successfully unlocked the access bank mobile application.

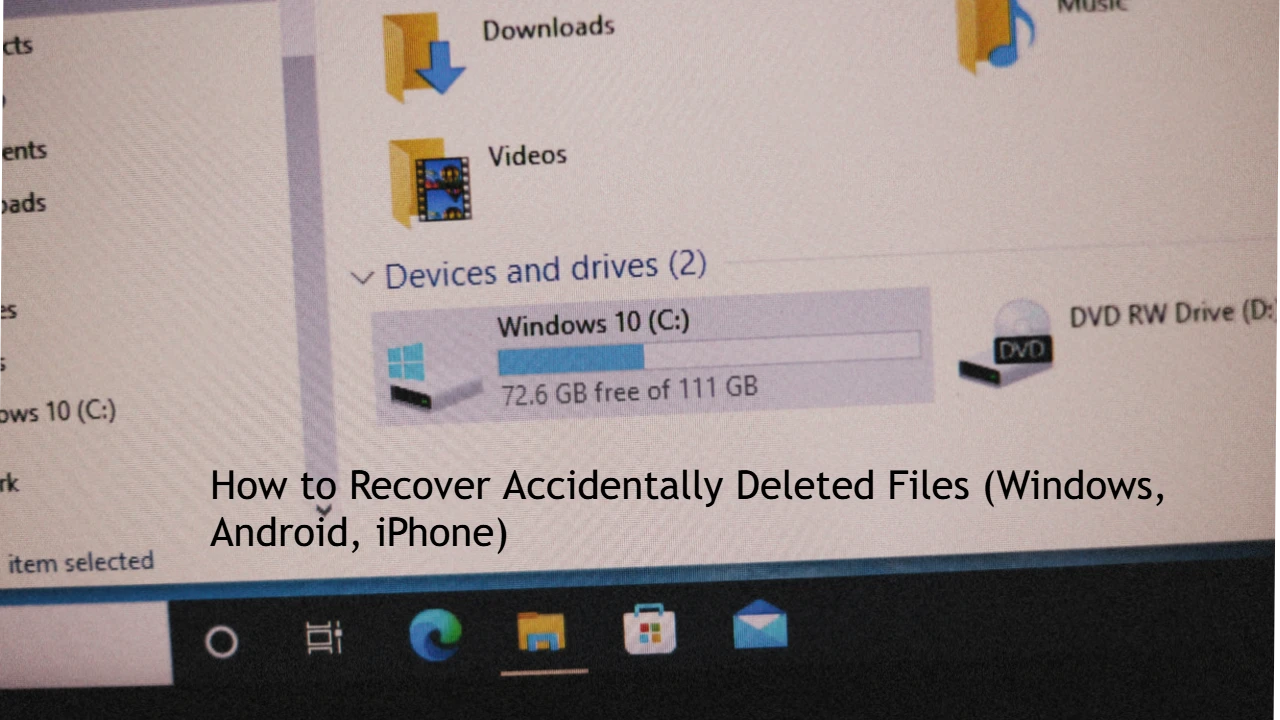
We’ve all been there—you delete an important file or photo by mistake, and panic sets in. 😱 Don’t worry! In most cases, deleted files can be recovered if you act quickly.
This step-by-step guide will show you proven methods to recover deleted files on Windows, Android, and iPhone devices.
🖥️ Recover Deleted Files on Windows
1. Check the Recycle Bin
-
Double-click Recycle Bin on your desktop.
-
Search for the deleted file.
-
Right-click → Restore.
👉 Works if you didn’t permanently delete with Shift + Delete.
2. Use File History (If Enabled)
-
Go to the folder where the file was stored.
-
Right-click → Properties → Previous Versions.
-
Select a version → Restore.
📌 Only works if File History/Backup was enabled earlier.
3. Restore from Backup
-
Go to Settings → Update & Security → Backup.
-
Select your backup drive → Restore files.
4. Use Windows File Recovery Tool (Free)
-
Download from Microsoft Store: Windows File Recovery.
-
Open Command Prompt and run:
-
Replace file path with your lost file.
5. Try Third-Party Recovery Software
If the above doesn’t work, use tools like:
-
Recuva (Free)
-
EaseUS Data Recovery
-
Disk Drill
📌 Best chance if you stop using the drive immediately (to prevent overwriting).
📱 Recover Deleted Files on Android
1. Check Google Photos / Google Drive
-
Open Google Photos app → Library → Trash.
-
Select file/photo → Restore.
-
Works within 30 days of deletion.
2. Check “Recently Deleted” Folder (Some Android Brands)
-
Open Gallery/Files app → Recently Deleted.
-
Restore your files.
3. Use File Manager Apps with Cloud Sync
-
Apps like Samsung Cloud or Mi Cloud may store deleted items.
4. Use Recovery Apps (If Not Backed Up)
-
DiskDigger, Dr.Fone, iMobie PhoneRescue.
-
Install → Scan storage → Recover files.
⚠️ Root access may be required for deep recovery.
🍏 Recover Deleted Files on iPhone
1. Check “Recently Deleted” Folder
-
Open Photos app → Albums → Recently Deleted.
-
Select files → Recover.
-
Available for 30 days after deletion.
2. Restore from iCloud Backup
-
Go to Settings → General → Reset → Erase All Content and Settings.
-
Restart → Set up iPhone → Restore from iCloud Backup.
3. Restore from iTunes / Finder Backup
-
Connect iPhone to PC/Mac.
-
Open iTunes/Finder → Select device → Restore Backup.
4. Use Third-Party Recovery Tools
If not backed up, try:
-
Dr.Fone – Data Recovery (iOS)
-
iMobie PhoneRescue
-
Tenorshare UltData
📌 These scan device storage for recoverable files.
📹 Bonus: Video Guide
👉 Add a tutorial video covering:
-
Recycle Bin & Windows File Recovery
-
Google Photos “Trash” on Android
-
iPhone “Recently Deleted” & iCloud restore
This boosts engagement and makes the guide user-friendly.
⚡ Pro Tips to Avoid Losing Files in Future
-
Enable automatic backups (OneDrive, Google Drive, iCloud).
-
Regularly back up to an external hard drive.
-
Use file recovery software only if necessary (to avoid overwriting).
-
Don’t ignore cloud sync features—they save headaches later.
📝 Final Thoughts
Accidentally deleting files doesn’t always mean they’re gone forever.
On Windows, start with Recycle Bin or File History. On Android, check Google Photos or cloud backups. On iPhone, “Recently Deleted” and iCloud restore are your best bets.
If none of these work, recovery tools can often save the day—just act fast before the data is overwritten.
🔑 Prevention is key: set up backups today to avoid future panic!
Tracking your internet browsing history and file access history can be useful for security, monitoring activity, or simply finding a recently visited webpage or opened file. Whether you’re using Windows or Mac, this guide will help you check and manage your history efficiently.
Why Check Internet and File History?
There are several reasons you may want to check your history on a computer:
- Recover Lost Information – Find a webpage or file you forgot to save.
- Monitor Usage – Track internet activity on a shared or family computer.
- Improve Security – Detect unauthorized access or suspicious activity.
- Clear Unnecessary Data – Free up disk space by deleting old history.
How to Check Internet History on Your Computer
Your internet browsing history is stored within your web browser. Here’s how to check it on different browsers:
1. Google Chrome
How to View History in Chrome:
- Open Google Chrome.
- Click on the three-dot menu in the top-right corner.
- Select History > History.
- A list of recently visited websites will appear.
- Use the search bar to find specific sites.
Shortcut: Press Ctrl + H (Windows) or Command + Y (Mac) to open history instantly.
2. Mozilla Firefox
How to View History in Firefox:
- Open Firefox.
- Click the menu button (three lines) in the top-right corner.
- Select History.
- A list of visited websites will appear.
- Use the search bar to find specific sites.
Shortcut: Press Ctrl + H (Windows) or Command + Y (Mac).
3. Microsoft Edge
How to View History in Edge:
- Open Microsoft Edge.
- Click on the three-dot menu at the top-right.
- Select History.
- Browse through your recently visited sites.
Shortcut: Press Ctrl + H.
4. Safari (Mac Users)
How to View History in Safari:
- Open Safari.
- Click History in the menu bar.
- Select Show All History.
- Scroll through or search for specific websites.
Shortcut: Press Command + Y.
5. Checking History in Incognito/Private Mode
If someone used Incognito Mode (Chrome) or Private Browsing (Firefox, Safari, Edge), history is not recorded. However, some monitoring tools or router logs may still track activity.
How to Check File History on Windows & Mac
Every time you open, modify, or delete a file, your computer keeps a log of activity. Here’s how to check file history:
1. Checking File History on Windows
Windows keeps track of recent files and folders through Quick Access, File Explorer, and Event Viewer.
Method 1: Using Quick Access
- Open File Explorer (
Win + E). - Click Quick Access in the left panel.
- You’ll see a list of recently opened files and folders.
Method 2: Using Recent Items Folder
- Press
Win + R, typerecent, and press Enter. - A folder will open, showing all recently accessed files.
Method 3: Using Windows Event Viewer (Advanced Users)
Event Viewer logs deeper file access history.
- Press
Win + R, typeeventvwr.msc, and hit Enter. - Expand Windows Logs > Security.
- Look for Event ID 4663 (indicates file access events).
- Click on an event to see details like file name and user access.
2. Checking File History on Mac
Macs also track file access through Finder, Recents, and system logs.
Method 1: Using Recents Folder
- Open Finder.
- Click on Recents in the left sidebar.
- You will see a list of recently accessed files.
Method 2: Using Terminal (Advanced Users)
- Open Terminal (
Command + Space, typeTerminal, hit Enter). - Type the following command:
ls -lt ~/Library/Recent Documents - Press Enter to view recent documents.
Method 3: Using Console Logs
- Open Console (
Command + Space, typeConsole, hit Enter). - Navigate to system.log to check file activity.
How to Delete Internet & File History
Clearing history can improve privacy and free up disk space.
Deleting Internet History
For Google Chrome:
- Go to Chrome History (
Ctrl + H). - Click Clear browsing data.
- Select a time range (Last hour, Last 24 hours, All time).
- Click Clear data.
For Mozilla Firefox:
- Open History (
Ctrl + H). - Click Clear Recent History.
- Select a time range and data type.
- Click OK.
For Microsoft Edge:
- Open History (
Ctrl + H). - Click Clear browsing data.
- Select Delete.
For Safari:
- Click History > Clear History.
- Select a time range.
- Click Clear History.
Deleting File History
On Windows:
- Open File Explorer.
- Click on Quick Access.
- Right-click on recent files and select Remove from Quick Access.
- Use Disk Cleanup (
Win + R, typecleanmgr, press Enter) to delete temporary files.
On Mac:
- Open Finder > Recents.
- Right-click a file and select Remove from Recents.
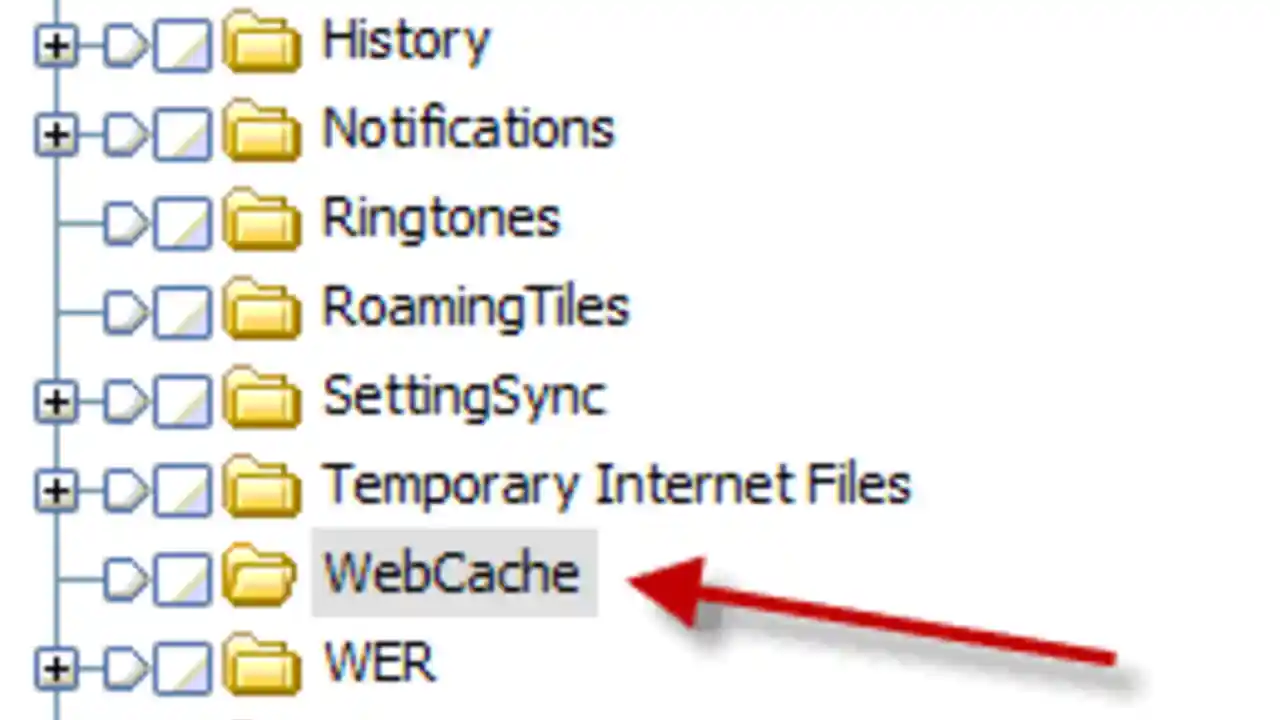
- To delete logs, go to
~/Library/Logsand delete unwanted logs.
FAQs
1. Can I recover deleted browsing history?
If you have deleted your history, you may be able to recover it using browser sync (if logged into an account) or system backups.
2. Can I track internet history if someone used Incognito Mode?
Incognito mode does not save history, but router logs or parental control software may track it.
3. Can I see who accessed files on my computer?
Yes, using Windows Event Viewer or Mac Console logs, you can check file access details.
4. How often should I clear my history?
For security and performance, clearing history once a month is recommended, especially on shared computers.
Conclusion
Checking internet and file history helps you recover lost data, monitor computer usage, and improve security. Whether you’re on Windows or Mac, there are multiple ways to view, manage, and delete history efficiently.
Try these methods and keep your computer activity well-organized! 🚀

Changing your hotspot name (also known as the SSID) is a simple yet important step to personalize your connection and make it easier to find. Whether you’re using an Android or iPhone, renaming your hotspot can help you quickly identify your network and improve security.
In this guide, we’ll walk you through how to change the hotspot name on your Android and iPhone, along with some additional tips for better hotspot management.
Why Change Your Hotspot Name?
Here are a few reasons why you might want to change your hotspot name:
- Personalization – Makes your network easy to identify.
- Better Security – Default names may expose your device type.
- Avoid Confusion – Prevents connecting to the wrong network in crowded areas.
- Easier Sharing – A custom name is easier to share with friends and family.
Now, let’s get into the step-by-step process.
How to Change Hotspot Name on Android
Most Android devices allow you to customize your Wi-Fi hotspot settings through the phone’s settings menu.
Step 1: Open Mobile Hotspot Settings
- Unlock your Android phone.
- Open the Settings app.
- Navigate to Connections or Network & Internet, depending on your device.
- Tap on Mobile Hotspot & Tethering.
- Select Mobile Hotspot.
Step 2: Change the Hotspot Name
- Tap on Network name or SSID.
- Erase the existing name and enter a new hotspot name.
- Tap Save or Apply to confirm changes.
Step 3: Restart Your Hotspot
- Turn off your hotspot.
- Wait a few seconds and turn it back on.
- The new hotspot name should now be visible to other devices.
💡 Tip: While you’re in the settings, you can also change your hotspot password for extra security.
How to Change Hotspot Name on iPhone (iOS)
Unlike Android, Apple does not have a separate hotspot name setting. Instead, your hotspot name is the same as your iPhone’s device name.
Step 1: Open Device Settings
- Unlock your iPhone.
- Open the Settings app.
- Go to General.
- Tap About.
Step 2: Rename Your iPhone
- Tap Name.
- Delete the current name and type a new name for your iPhone.
- Tap Done to save.
Step 3: Restart Hotspot
- Go back to Settings.
- Open Personal Hotspot.
- Toggle Allow Others to Join off and then back on.
- Your new hotspot name will now be visible to other devices.
💡 Note: The new name will also appear when using AirDrop, Bluetooth, or iCloud.
How to Check If Your Hotspot Name Has Changed
After updating your hotspot name, follow these steps to confirm the change:
- Use another device (phone, tablet, or laptop).
- Go to Wi-Fi settings on that device.
- Look for your new hotspot name in the available networks list.
- If the old name still appears, turn the hotspot off and on again.
Troubleshooting: Hotspot Name Not Changing?
If you followed the steps but don’t see your new hotspot name, try these fixes:
- Restart Your Phone – A quick reboot can apply the changes.
- Turn Airplane Mode On/Off – This refreshes network settings.
- Forget and Reconnect – On the other device, forget the hotspot and reconnect.
- Check Software Updates – Ensure your phone has the latest OS version.
- Reset Network Settings (Last resort): Go to Settings > General > Reset > Reset Network Settings (iPhone) or Settings > System > Reset Options > Reset Wi-Fi, Mobile & Bluetooth (Android). This will erase all Wi-Fi settings, so use with caution.
Tips for Choosing a Good Hotspot Name
Choosing a unique and secure hotspot name can make your experience better. Here are some tips:
✅ Be Unique – Avoid common names like “AndroidAP” or “iPhone”.
✅ Keep It Short – Long names can be hard to type.
✅ Avoid Personal Info – Don’t use names like “John’s Hotspot” for privacy.
✅ Be Creative – Funny names like “It Hurts When IP” or “LAN Solo” can be fun.
✅ Avoid Special Characters – Some devices may not recognize symbols like @, #, $.
Frequently Asked Questions (FAQs)
1. Can I change my hotspot name anytime?
Yes! You can change your hotspot name as often as you like by following the steps above.
2. Will changing my hotspot name disconnect connected devices?
Yes, when you change the hotspot name, all connected devices will disconnect and need to reconnect manually.
3. Why can’t I find my hotspot name after changing it?
Try turning the hotspot off and on, restart your device, or check if the change was saved in the settings.
4. Can I hide my hotspot name from others?
Most phones don’t have a hidden SSID feature, but you can set a strong password to prevent unauthorized access.
5. Does changing my hotspot name affect mobile data usage?
No, changing the name does not affect your data usage—it only renames your network.
Conclusion
Changing your hotspot name is a quick and easy way to personalize your network and improve security. Whether you’re on Android or iPhone, you now have the steps to rename your hotspot in just a few minutes.
Give your hotspot a unique name today, and enjoy a seamless connection! 🚀
-

 Mobile & Apps How-To6 months ago
How to Check and Use MTN Bonus Data in 2025
-
 Hardware & Gadgets How-To10 months ago
How to recharge airtime on your Airtel Sim Card
-

 Mobile & Apps How-To6 months ago
MTN APN Settings for Fast Internet: A Complete Guide
-

 Mobile & Apps How-To6 months ago
How to Borrow Money from Opay Loan App?
-
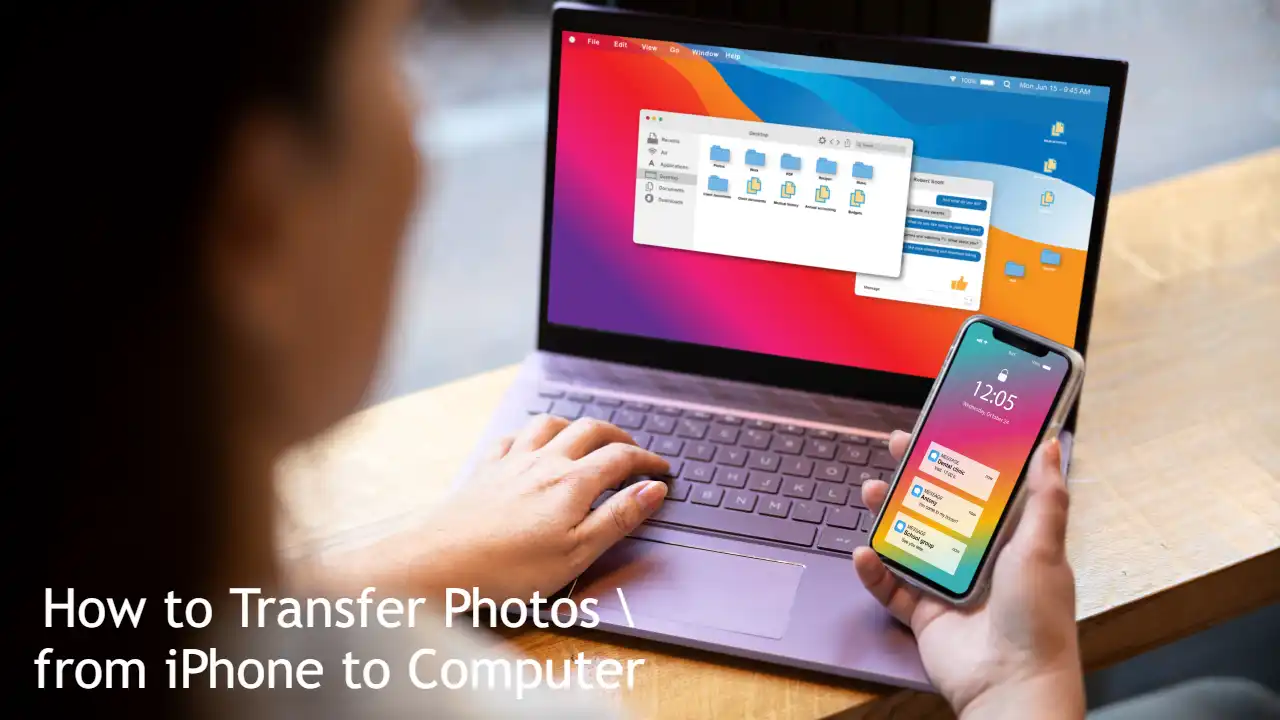 Hardware & Gadgets How-To11 months ago
How to Transfer Photos from iPhone to Computer: Quick Guide
-

 Hardware & Gadgets How-To6 months ago
How to Adjust Your Mouse Polling Rate on PC & Mac: A Complete Guide
-

 Mobile & Apps How-To6 months ago
How to Check Internet and File History on Your Computer: A Complete Guide
-

 Mobile & Apps How-To6 months ago
How to Convert Airtime to Cash in Nigeria: A Complete Guide